 As fall approaches, it’s time to start thinking about autumn fun. Activities such as apple picking, bonfires, visiting the pumpkin farm, and of course, Halloween comes to mind. Halloween offers a great opportunity to decorate your home and yard and just have fun with the holiday. A Halloween wreath is the perfect touch to add a little holiday charm to the home, or serves as a way to welcome trick or treaters and visitors when they come calling.
Another great thing about Halloween wreaths is that they are easily made and make the perfect do it yourself craft project. You can use materials such as straw wreaths, foam wreaths, grapevine wreaths, fabric, ribbon, florals, moss, yarn, and numerous types of seasonal embellishments to really make your project something special. Here are a couple of examples of fun, festive wreaths that can be made using materials found at your local craft and hobby store such as JoAnn.
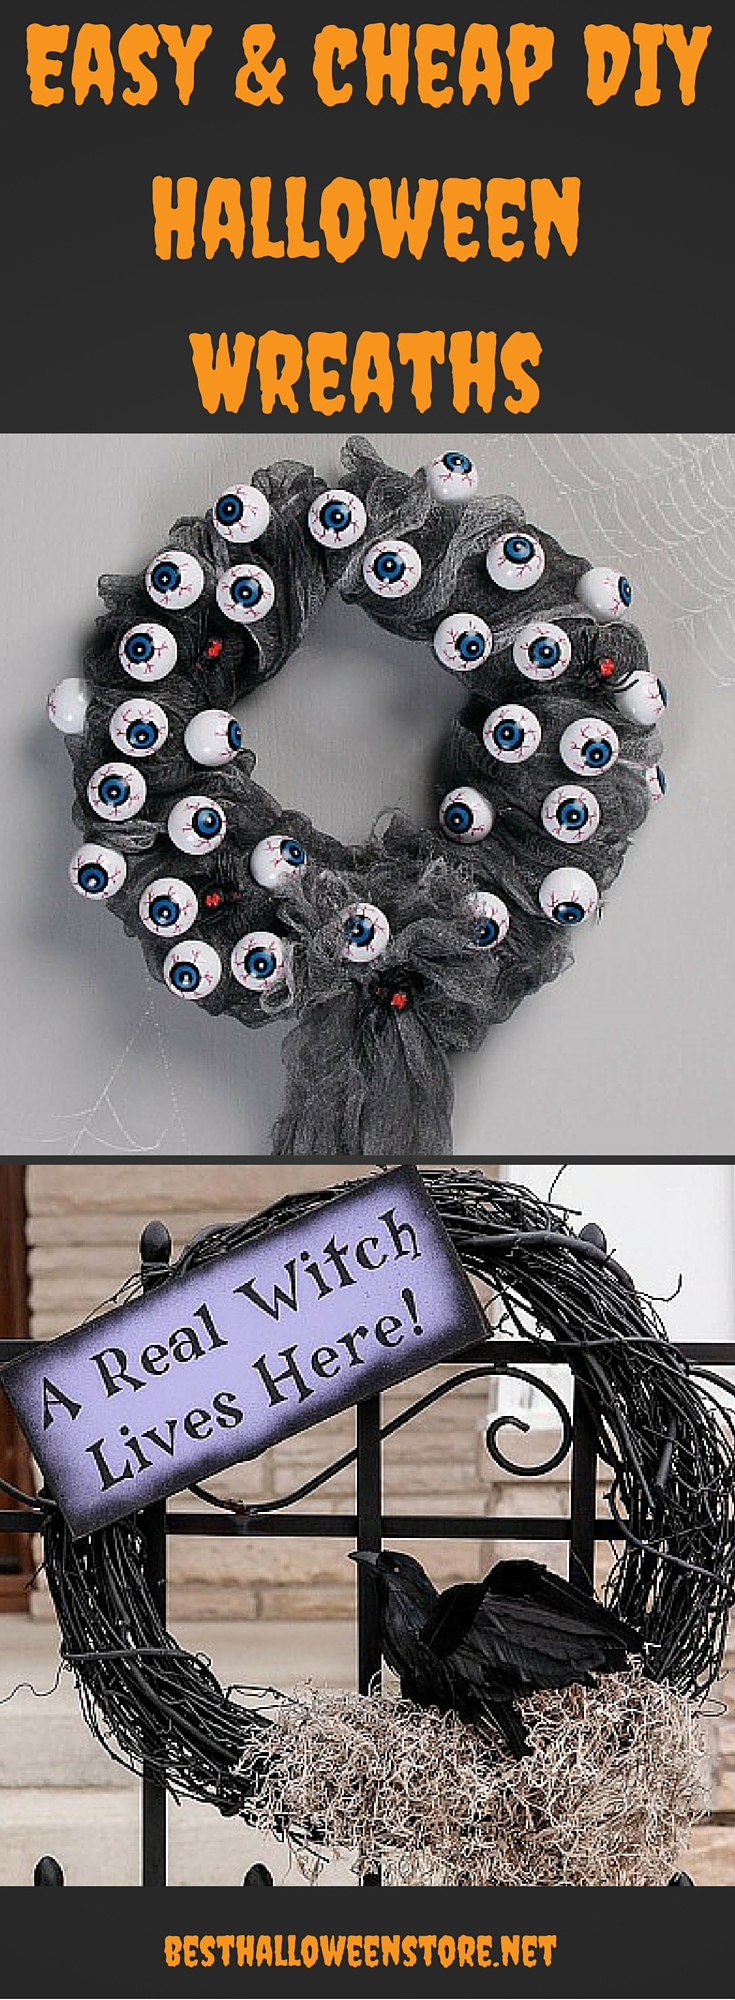
Halloween Spanish Moss Raven Wreath
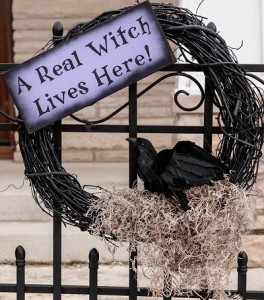
This is a very simple wreath that not only looks great, but is so easy that even a beginner can make it. For this project you will need a simple grapevine wreath, black spray paint, craft wire, wooden Halloween sign, black raven, a package of Spanish moss, and a hot melt glue gun and glue sticks.
- First, select a grapevine wreath such as the eighteen inch Red River Vine Grapevine Wreath.
- Use a black spray paint such as the Krylon Now Aerosol Paint in flat black to coat the grapevine wreath. Do one coat at a time and allow to dry between coats. Make sure all visible surfaces are coated with the black paint.
- Next, choose a Spanish moss either in black, or you may prefer a lighter color as this will serve as the nest for your bird. With a hot glue gun and glue sticks, glue the Spanish moss to the lower right hand corner of the wreath, working it from the corner toward the center. Allow some of the moss to hang down for a cool effect.
- Next, add the wooden Halloween sign and the raven to the wreath. Both the bird and the wooden sign are not shown on the JoAnn website, but like and similar items can be found in stores in the seasonal or Halloween merchandise sections. Sign shown for this project says ” A real witch lives here!” , but you could always choose another saying or even just a simple “Happy Halloween”sign.
- Hot glue some craft wire to the bottom of the raven, leaving several inches of wire on either side of the glued section, then wire the bird to one of the vines of the grapevine wreath. Make sure bird is sitting straight and secured well so that it won’t fall off.
- Then, glue some craft wire to the back of the decorative sign, leaving several inches of wire on both sides of glued area, and then attach sign to wreath using wires. You will probably want to attach the sign in at least two places to hold it securely.
Now your Halloween wreath is done, and aside from the time spent allowing the paint to dry, it should probably have taken you no more than an hour to complete. Hang on the front door or find a spot in the home to show off your handiwork.
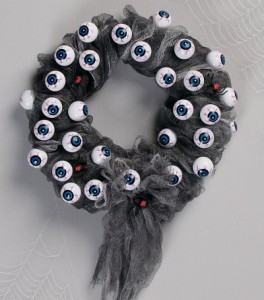
Eyeball Halloween Wreath
- Asphalt colored fabric spray paint,
- fast grab tacky glue,
- two and one half yards of gauze,
- scissors,
- straight pins,
- plastic eyeballs,
- 12 inch foam wreath base.
This project states that some experience is necessary to complete it, but a beginner should be able to tackle it with little difficulty.
First, find a twelve inch foam wreath and paint it on both sides using Tulip Fabric Spray Paint in the color asphalt. Let wreath dry thoroughly.
While wreath is drying, cut two separate pieces of gauze fabric in two different lengths, one being a one yard length, the other piece a one and one half yard length. Spray both gauze strips front and back with the asphalt colored fabric spray paint. Allow pieces to dry.
When both wreath and gauze strips are dry, take the longer piece of gauze and wrap the fabric loosely around the entire wreath. Shape it as you go, securing the gauze with straight pins along the way. Work your way around the entire wreath, wrapping the fabric around and around as you go. When done and satisfied with the shaping, spray everything with Stiffen Quik to hold shape in place. Allow fabric stiffening product to dry.
With remaining gauze strip, create a bow. Allow several inches of fabric to hang down on either side of the finished bow. Attach bow to the wreath at bottom, using Fast Grab Tacky Glue. Cut the bottoms of the bow into strips using scissors to create ragged looking edges. Using the same glue, glue several plastic eyeballs all around the front and sides of the wreath. If planning to hang on a door, leave back free of eyeballs or it will not rest nicely against the door. Plastic Halloween eyeballs are not listed on the JoAnn website, but may be found in the seasonal merchandise and Halloween section at your local JoAnn store. Plastic spiders may also be glued intermittently around the wreath, in between the eyeballs.
This is a fun, creative project that should take approximately one to two hours to complete, with some of that time being spent allowing paint or glue to dry. This Halloween wreath is sure to be a conversation piece among trick or treaters or Halloween party guests. Your guests will leave with that uneasy feeling that someone is watching them, perfect for Halloween!
